NEW Plasma Table
If you have questions feel free to email me at taboocustoms@adams.net
Over the years we have built countless bumpers, tire carriers, sliders and other products. During that time we had the help of multiple suppliers. However, due to the nature of quoting, ordering, lead times and all else that goes with outsourcing parts, the amount of time to get our parts appeared to be our biggest bottleneck to growth. So with our renewed focus on providing products to protect your ASSets from damage, we decided to take the next step: getting a plasma table.
Plasma Table Nesting With SheetCam
One Year Video Review of our Table
MAKE vs BUY
Over the years I have read quite a bit on plasma tables and plasma-table builds. This step has really been a long time in the making! With that knowledge I knew that building a table or using a partial kit would require time and possibly some expertise that I do not have. So the decision to make vs buy was fairly easy.
PLASMA TABLE SELECTION
With the decision to evaluate buying a plasma table we obtained several quotes from the high end Torchmate table to the small Langmuir Crossfire table. All of the tables had unique pros and cons and ranged in cost from $1500 - $15000 for just the table. During our research we decided that our absolute requirements were fairly small in number:
- 4x4 minimum (many of our bumper parts are over 24” wide)
- Automatic Torch Height Control (research indicated that this feature was one that really could make or break cut quality and consistency)
After watching several Youtube videos and reading all the information we could find on them, our decision finally came down to purchasing a Wright CNC Plasma table.
ORDERING
We ordered our table October 26th 2018, and when we went to order our table we noticed that the website price for the 4x4 and the 5x5 were the same. When we called in we asked about this and found that it was an error and the 5x5 was more than the 4x4, but Wright CNC honored the website price, so we ordered a 5x5 table at the 4x4 price of $4999! With shipping our total came to $5750.
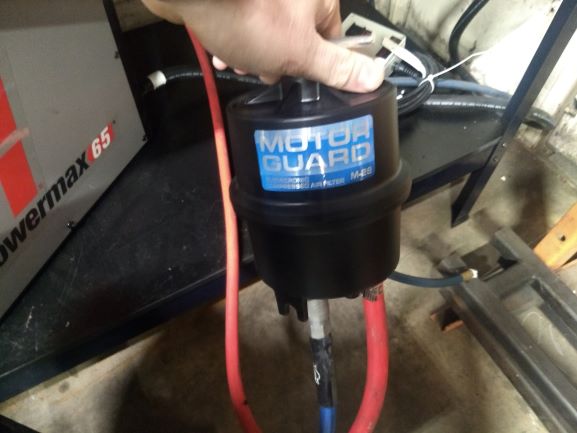
The plasma table was ordered without a plasma cutter (which is optional from Wright CNC), so we ordered a Hypertherm Powermax 65 locally to use with the table. We ordered this machine because it was recommended by Wright CNC for integration into their table and also due to past experience with Hypertherm’s capability and quality. New, the Hypertherm PM 65 cost us roughly $3200.
The total for the table and plasma cutter came to $8850.
The lead time for the plasma table was said to be 8 weeks. Given the upcoming holidays at the time, I expected this to extend out into Jan before the table would arrive. Instead, the table arrived on Dec. 26th.
PREP
Being we went with the larger 5x5 table we had to account for a slightly larger area in our shop, roughly 80”x80”. We ended up going with a spot close to the main door and up against a wall, giving us access to 3 sides of the table for part removal and maintenance. A few months later we moved our table away from the wall and door abour 4'. This was due to material handling. I found that, when running larger volumes of sheet, I was trying to store the sheet in a location that was too far from the door. Moving the table allowed us to move sheet storage next to the door and minimze sheet movement to the table.
Then next big preparation step was regarding our electrical service. Our shop is relatively small, and when built the owner installed only 100 amp service. This is ok if your only plasma cutting or welding but not doing both at the same time. In the past we had investigated 200 amp service and even had 3-phase quoted since we do have a 3-phase band saw. Due to cost 3 phase was rejected quickly. With the addition of this equipment and the lack of circuits in the old box we took this opportunity to upgrade our service from 100 Amp to 200 Amp.
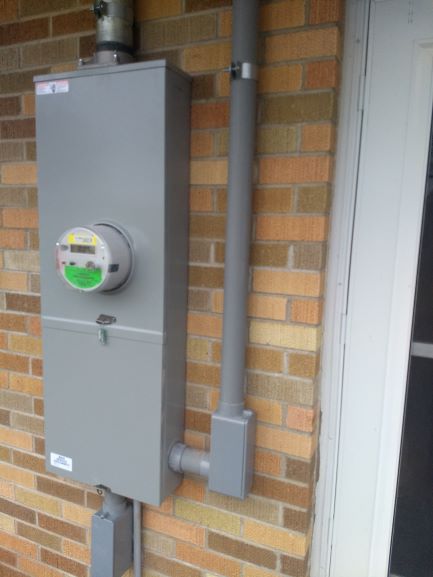
Our shop electrical service is also attached to the house meter so we had to upgrade that meter box to a 370 Amp box to ensure that we have sufficient amperage for both. This in addition to a new weatherhead, new cable and new box in the shop came out to $3300.
One thing we had to think about was ventilation. We have a small shop so smoke is a concern. The Wright CNC machine has a fairly shallow pan for the cut area and typically is not setup with a downdraft table. Since a downdraft setup is not feasible at the start we began researching water tables. After doing the research we decided to use GreenCut Plasma Cutting fluid. A 5 gallon bucket cost around $350 and mixes 20:1. The table holds approximately 65 gallons so we will end up with a couple gallons left over.
We also knew we needed something for the PC to sit on during use. For that we purchased a $99 workbench from Harbor Freight.
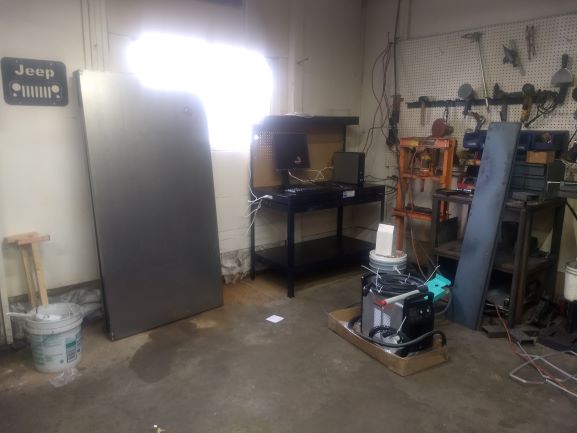
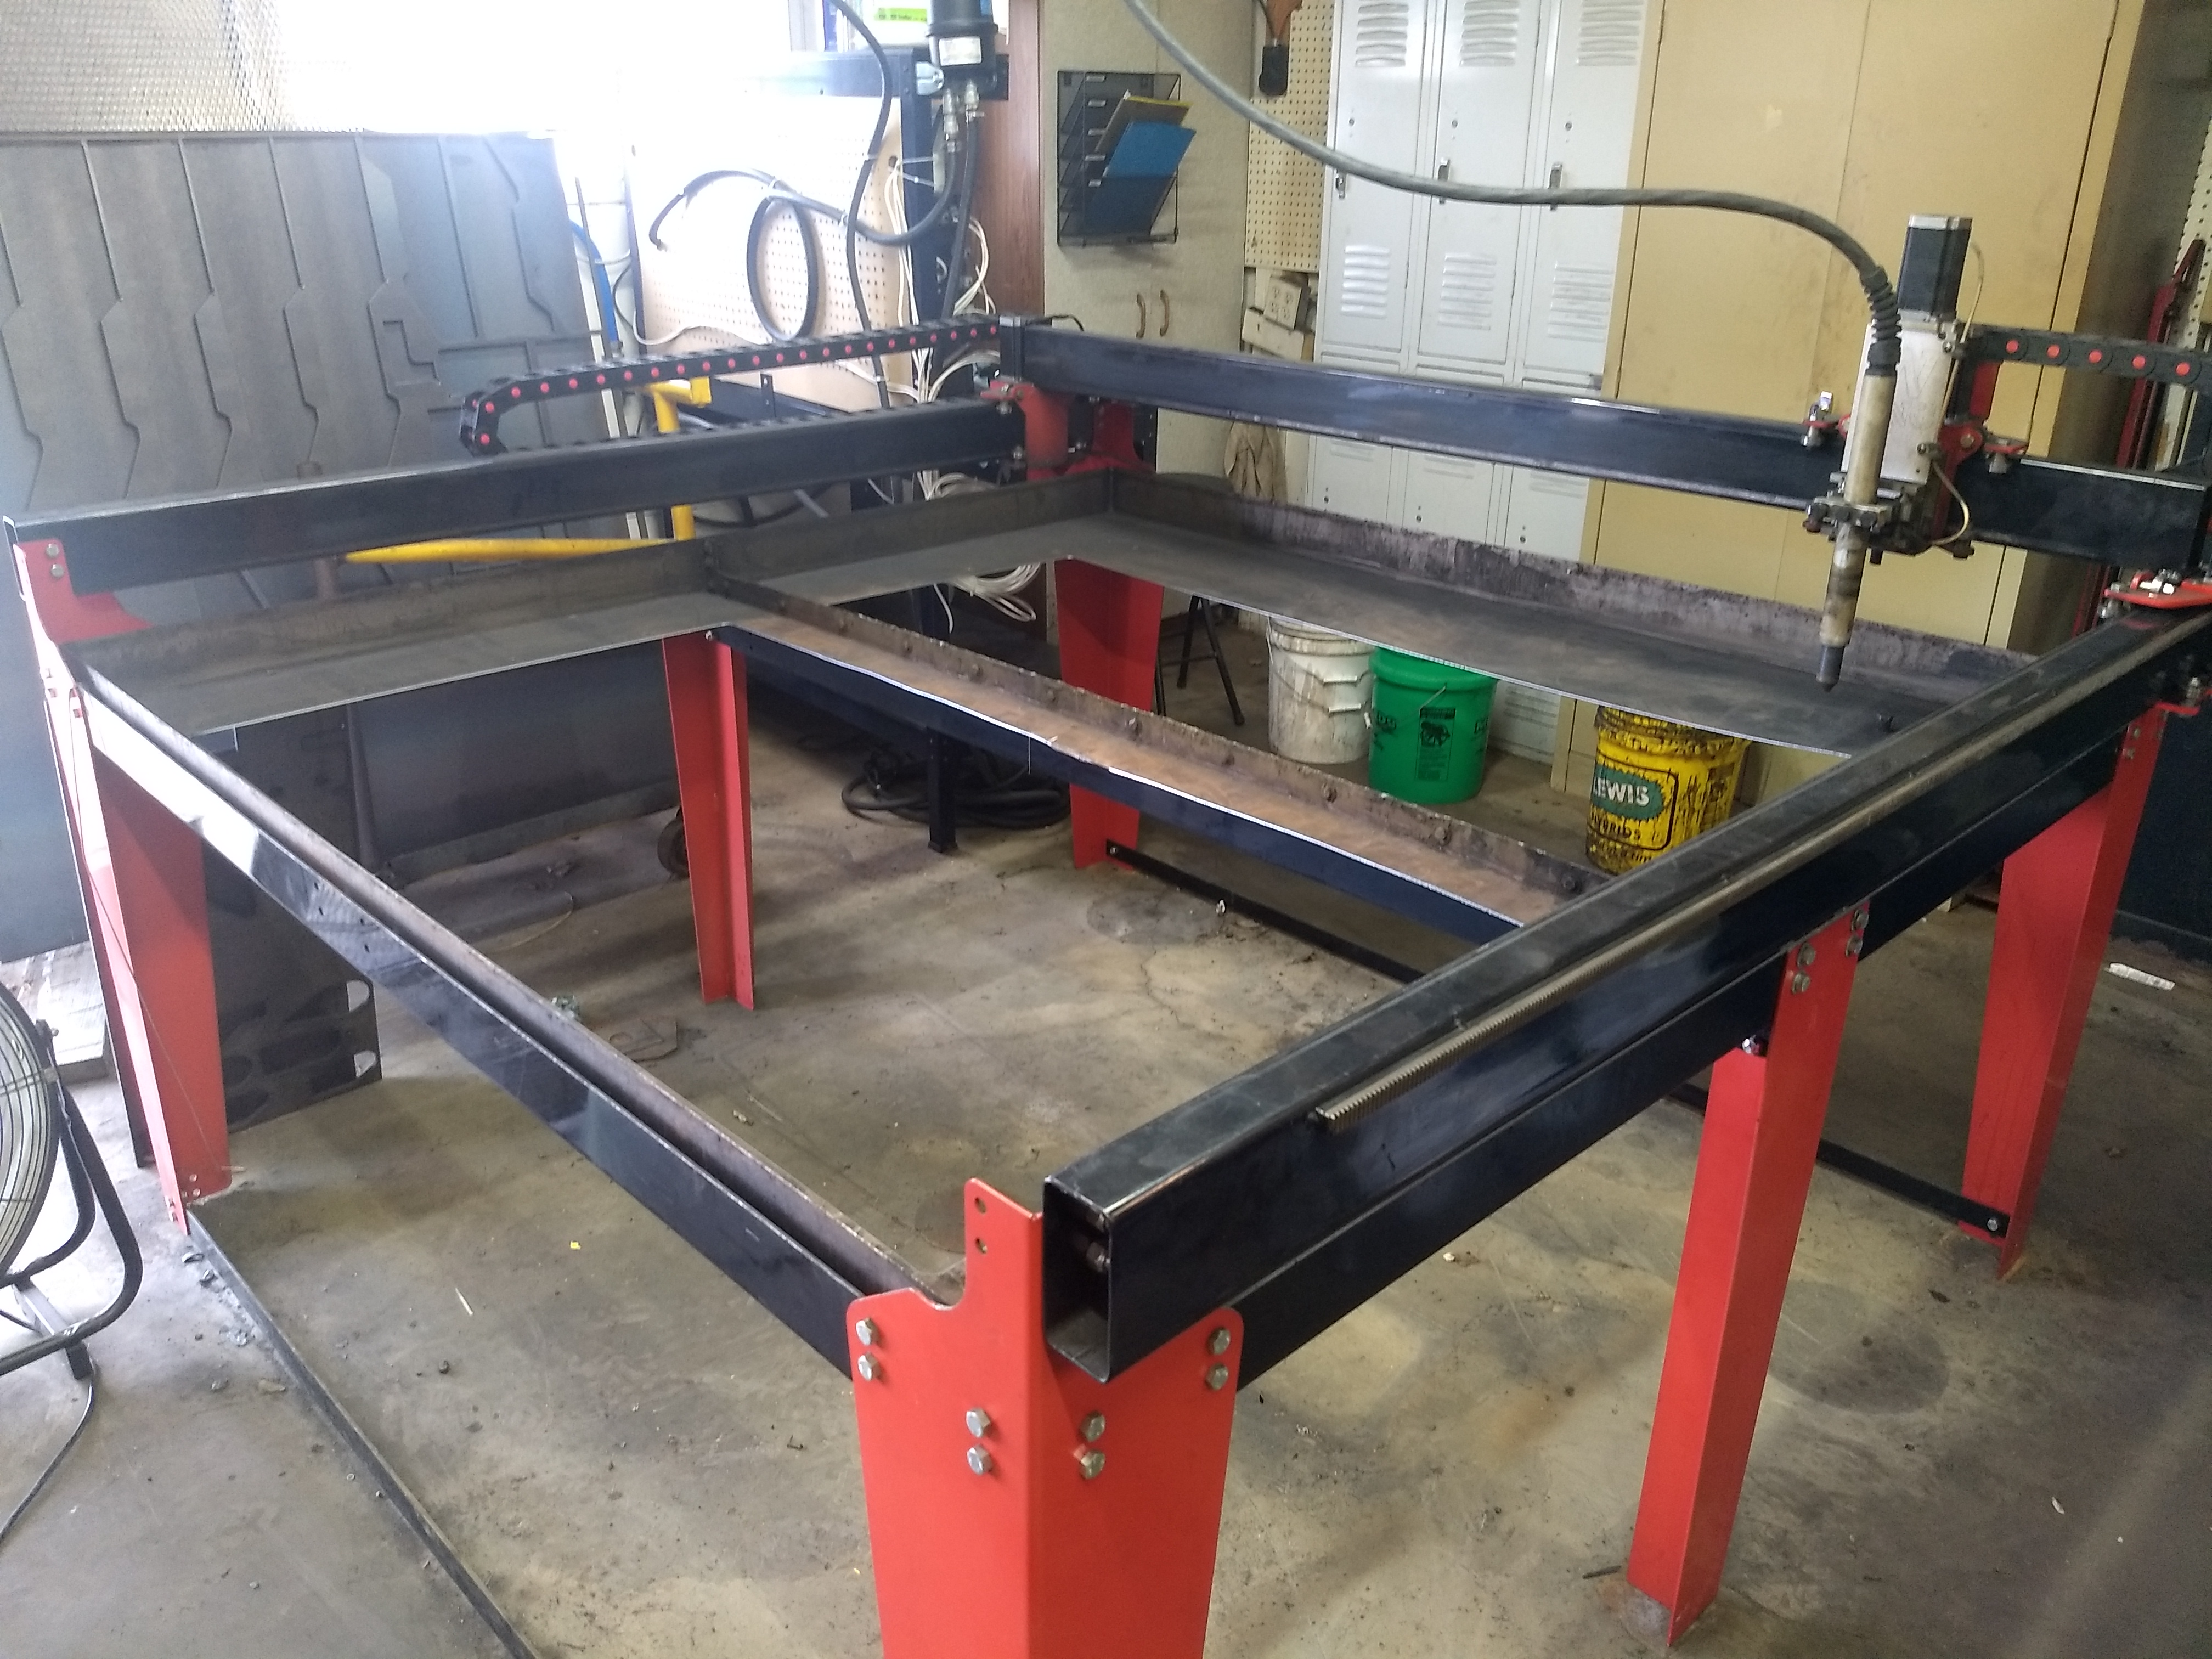
TABLE ASSEMBLY
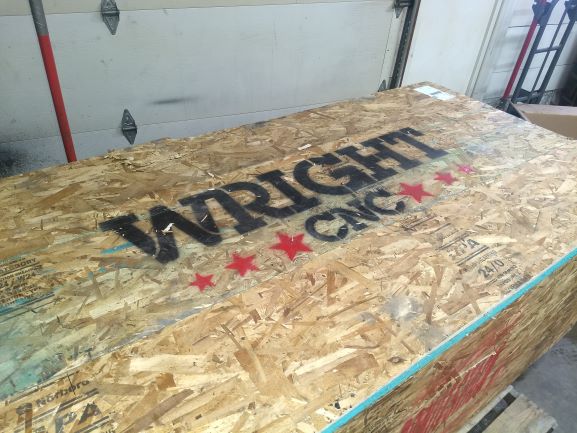
The table arrived via truck freight nicely crated and packaged. Upon inspection the only damage that was found was to the monitor where the monitor stand was rubbing against the screen causing scratches. I reported this to Wright CNC and a new monitor was shipped out to me.
One of the first things I noticed was the water pans for the table. These pans did not have any way to drain the water out of the pans, so I added some 1/2" bungs.
The instructions for assembly were on the PC so that had to get setup first. Once that was setup we opened the instructions to find that the table instructions were for a 4x4 table. We figured they should be the same for a 5x5 however there were a few extra parts, an extra set of legs for the middle, an extra set of side rails, and the cable rails.
The table was not difficult to put together but the instructions were a little difficult to understand at first. The instructions were somewhat ambiguous about which direction to put drive rails and did not contain instructions on installing the cable chains and supports. So in the end, the machine ended up backwards to what I was expecting. Unfortuantely due to how the wiring was laid out we could not rotate the table 180 degrees, but by making some changes to the axis directions in Mach 3 I was somewhat able to fix this and put the 0,0 at the computer end of the table.
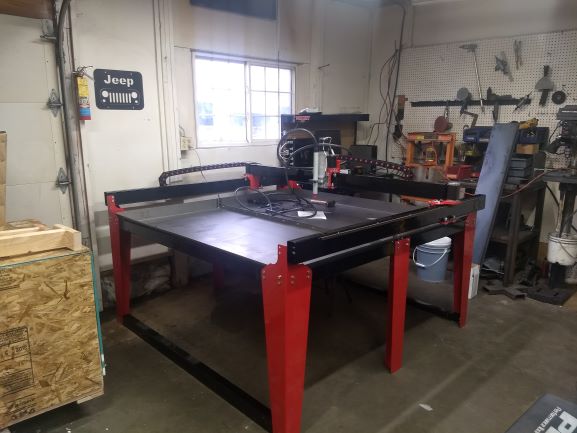
As you can see in the pictures we took the extra side rails and put them on the bottom of the legs on the ends. There were no indications in the instructions where these went and after about a week we learned that this was wrong. After getting the machine up and running we decided we needed to move the retainer for plasma cable closer to the center of the table vs by the wall. When we got up on the table to do this the table buckled in the middle where the two pans are bolted together. This then caused the pans to leak so we had to drain them, which made me very glad that I noticed the lack of drains at the start and added them in. Once we drained the pans we removed them, then straightened and resealed them. It was at this moment we realized that the extra rails that we put at the bottom of the legs were probably for the middle legs to support the center of the table (or they just happen to work better there anyway). We did make new braces to go across the bottom of the legs.
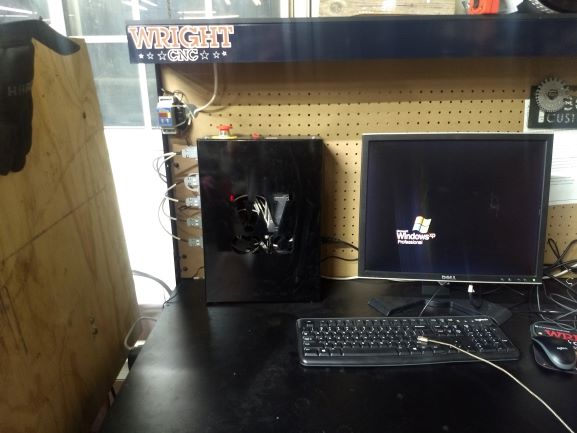
The control box we mounted to the top of the workbench with the Torch Height Controller mounted to the upper left.
The plasma cutter we put under the workbench this however has been a pain as the on/off switch is on the back of the plasma cutter. In addition to this we also used a Motor Guard filter to ensure that the air coming to the plasma cutter is clean and dry.
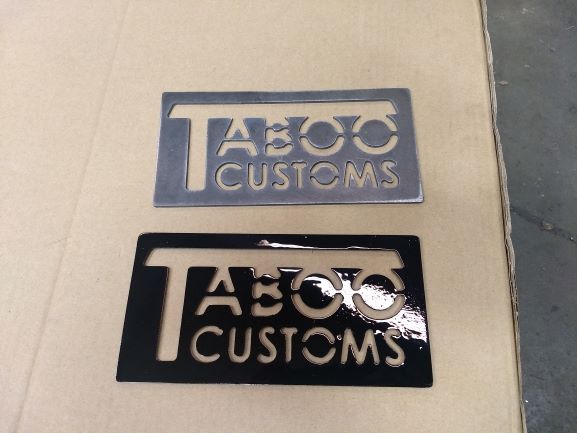
Once completed we started running test parts out of 14 ga HR steel. With very little tweaking these turned out really well.
WATER TABLE INFORMATION
I decided on the water table mainly because of minimal requirements to get started up. No duct work is needed and the water would keep the parts cool. However, after a short period of using the water table I've found it does have some drawbacks.
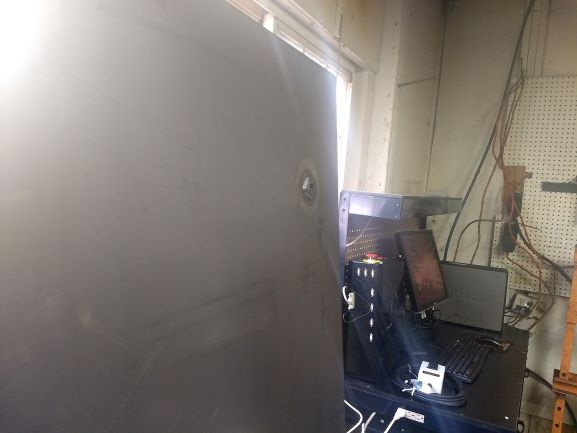
- The water gets blown all over, I ended putting up a splash guard next to the control box and computer to keep them from getting wet
- Possiblity of leaks, Ive already had one issue but that was my fault
- Maintaining the proper amount of fluid and mix ratio
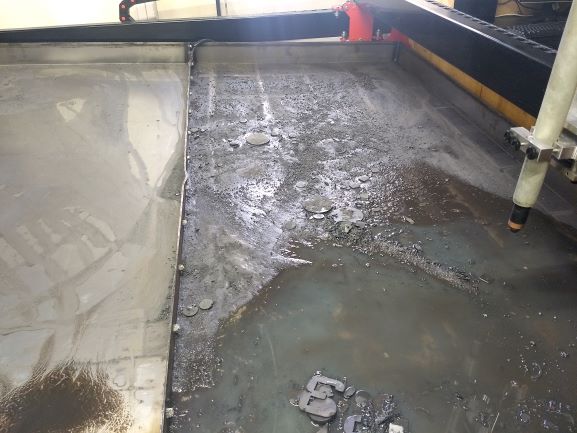
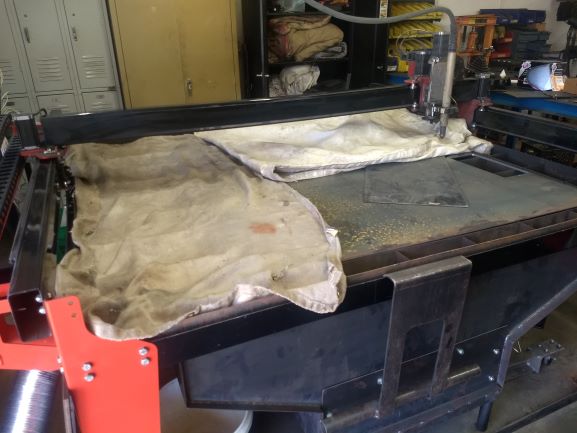
- Sludge and dirt buildup in the bottom... the picture below is after cutting less than 100 parts
- Additional step of cleaning parts off
- Finding small parts that fall in
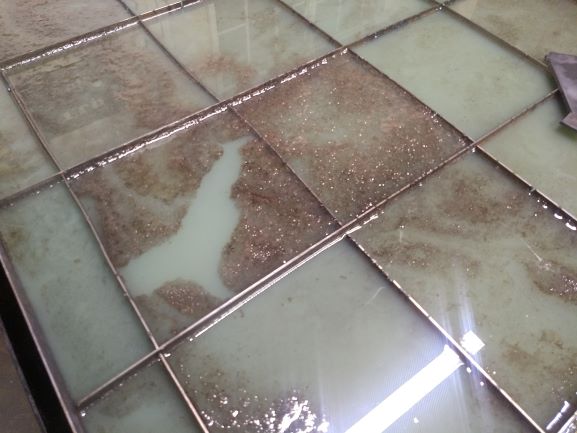
- Water foams up and collects dirt
PLASMA TABLE ADVANTAGES
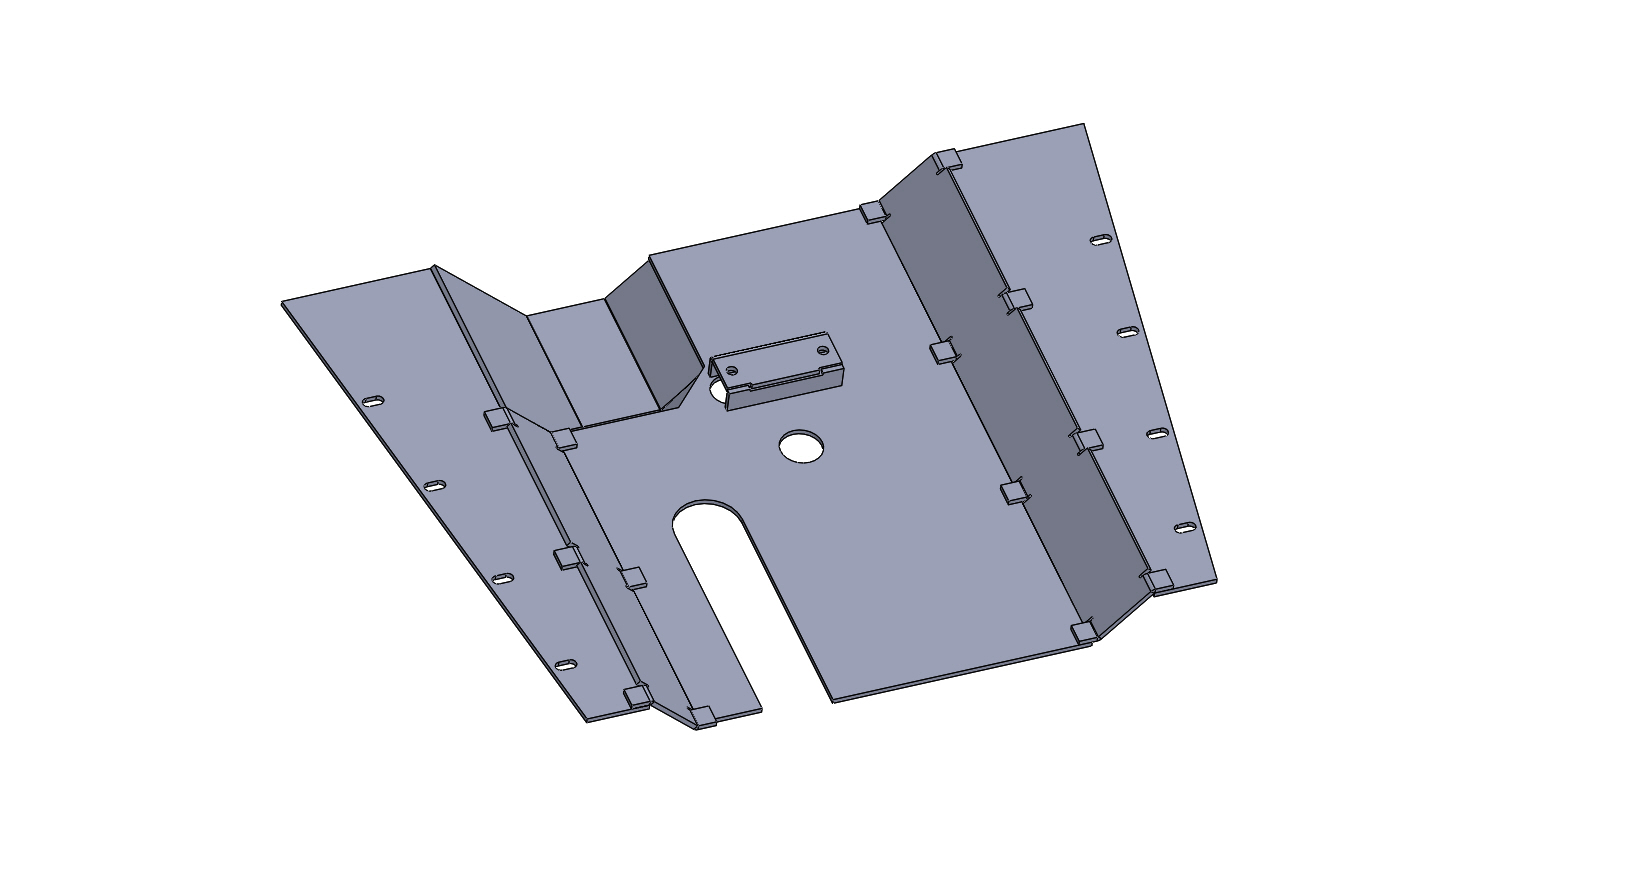
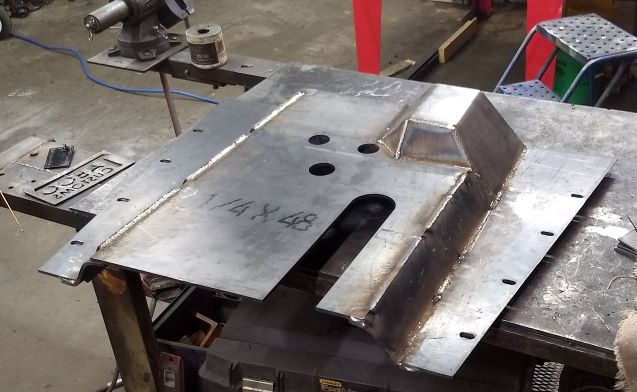
It didnt take long for us to see the effects of having our own plasma table. The first project after the table was up and running was a GM 6.0 and 6L80e in a CJ8. For this I needed to make a skid plate for the transmission mount as well as protecting the transmission and transfer case. With the plasma table we were able go from concept to design to finished product within 8 hours.
ISSUES
Water Table Leaks - The water table was leak-free for a while, then it developed a small leak. In the end we are going to design and build a down draft table so we will nurse the water table along until we can get there.
Air Pressure Issues - Currently I'm using a 60-Gallon Ingersal Rand compressor. However, last year the pump went out and we threw another pump on it that we had around the shop. This was okay for what we were doing then but now that we have a more constant demand for air we are going to have to replace the compressor. We ended up relacing our compressor with a much larger 2 stage compressor 80 Gallon, all new larger air lines throughout the shop and a Harbor Freight air dryer. The dryer is extremely important as before the dryer I was going through plasma consumables at a rate of a set a sheet.
Sticking Consumables - One issue that has popped up now that I have been using the machine a few months is that occasionally the electrode in the plasma torch will stick in the swirl ring. It took a few times running into this before I figured out what was happening.
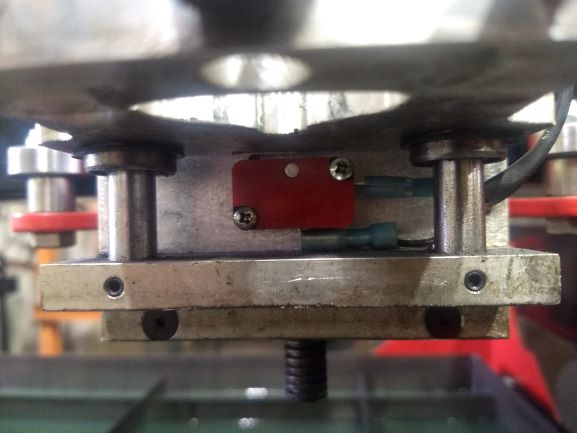
Z Axis Material Sense Switch Issues - The only reoccuring issue I've had with the Wright CNC table is the switch that senses when the torch touchs off on the material. I've had two issues with the switch:
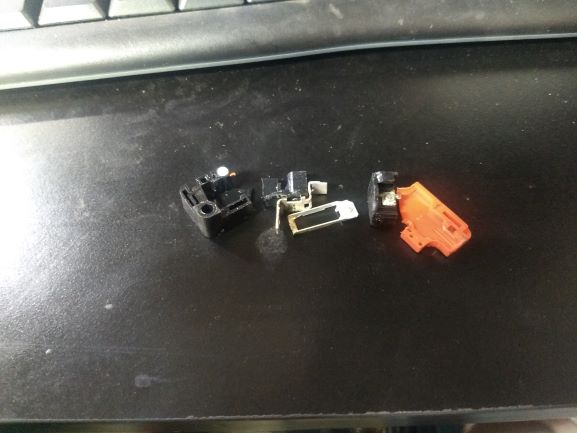
The first issue is that the torch holder rides up and down on two rods. The switch is the only thing that holds the torch holder up. So this means all of the weight is on this switch. So far over 2 months of use I've had two of these switches fall to pieces.
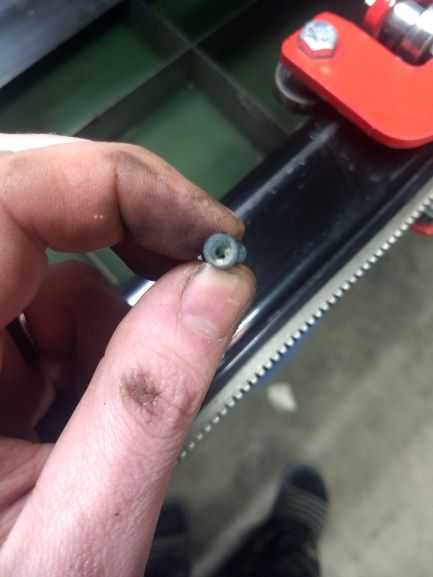
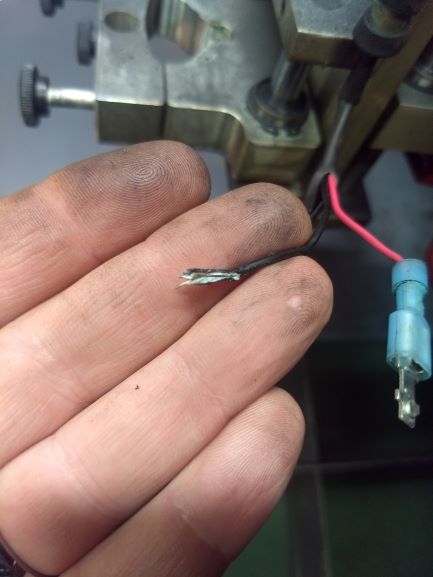
The second issue I found the second time the switch fell apart. Upon inspecting the switch I found that one of the wires going to the switch was extremely corroded, corroded so much that the connector fell off and I had to cut 3" off of the wire to get back to copper that looked decent. I contacted Wright CNC about this and they sent me out a new switch harness. After more use what Ive found is that the water table splash back causes these switches and most of the Z axis to get wet. This has caused corrosion in the switch and has caused some galvanic corrosion to start on the z axis. Ive found now that prior to using the table for the first time each day I will take the torch and trigger the switch several times. Ive found that this typically keeps us from having issues where the switch does not trigger due to the corrosion.
IN CONCLUSION
The purchase of the plasma table has really changed how I do business. The biggest impact is in prototyping; Now, instead of taking 6 months of working through suppliers to get the parts I need to build prototypes, I can do it in hours and have new products from concept to production in days. The issues I have had starting up with the Wright CNC table have been minor and mostly involved me understanding the piece of equipment and the process. For the money the Wright CNC plasma table has been a performed well and overall I feel is a good product.
DOWN DRAFT TABLE BUILD
With the issues we ran into with the water table we decided to go away from the water table and move to a Taboo Custom's designed down draft table.
Given my prior experience with both water tables and down draft tables, when we first ordered our table I asked the Wright CNC sales person about anyone who had built a down draft table for one of their machines. I was told that they did not know of anyone that had built one. Now deciding to go away from the water table I set about figuring out how I wanted to design a table that efficient and easy to clean.
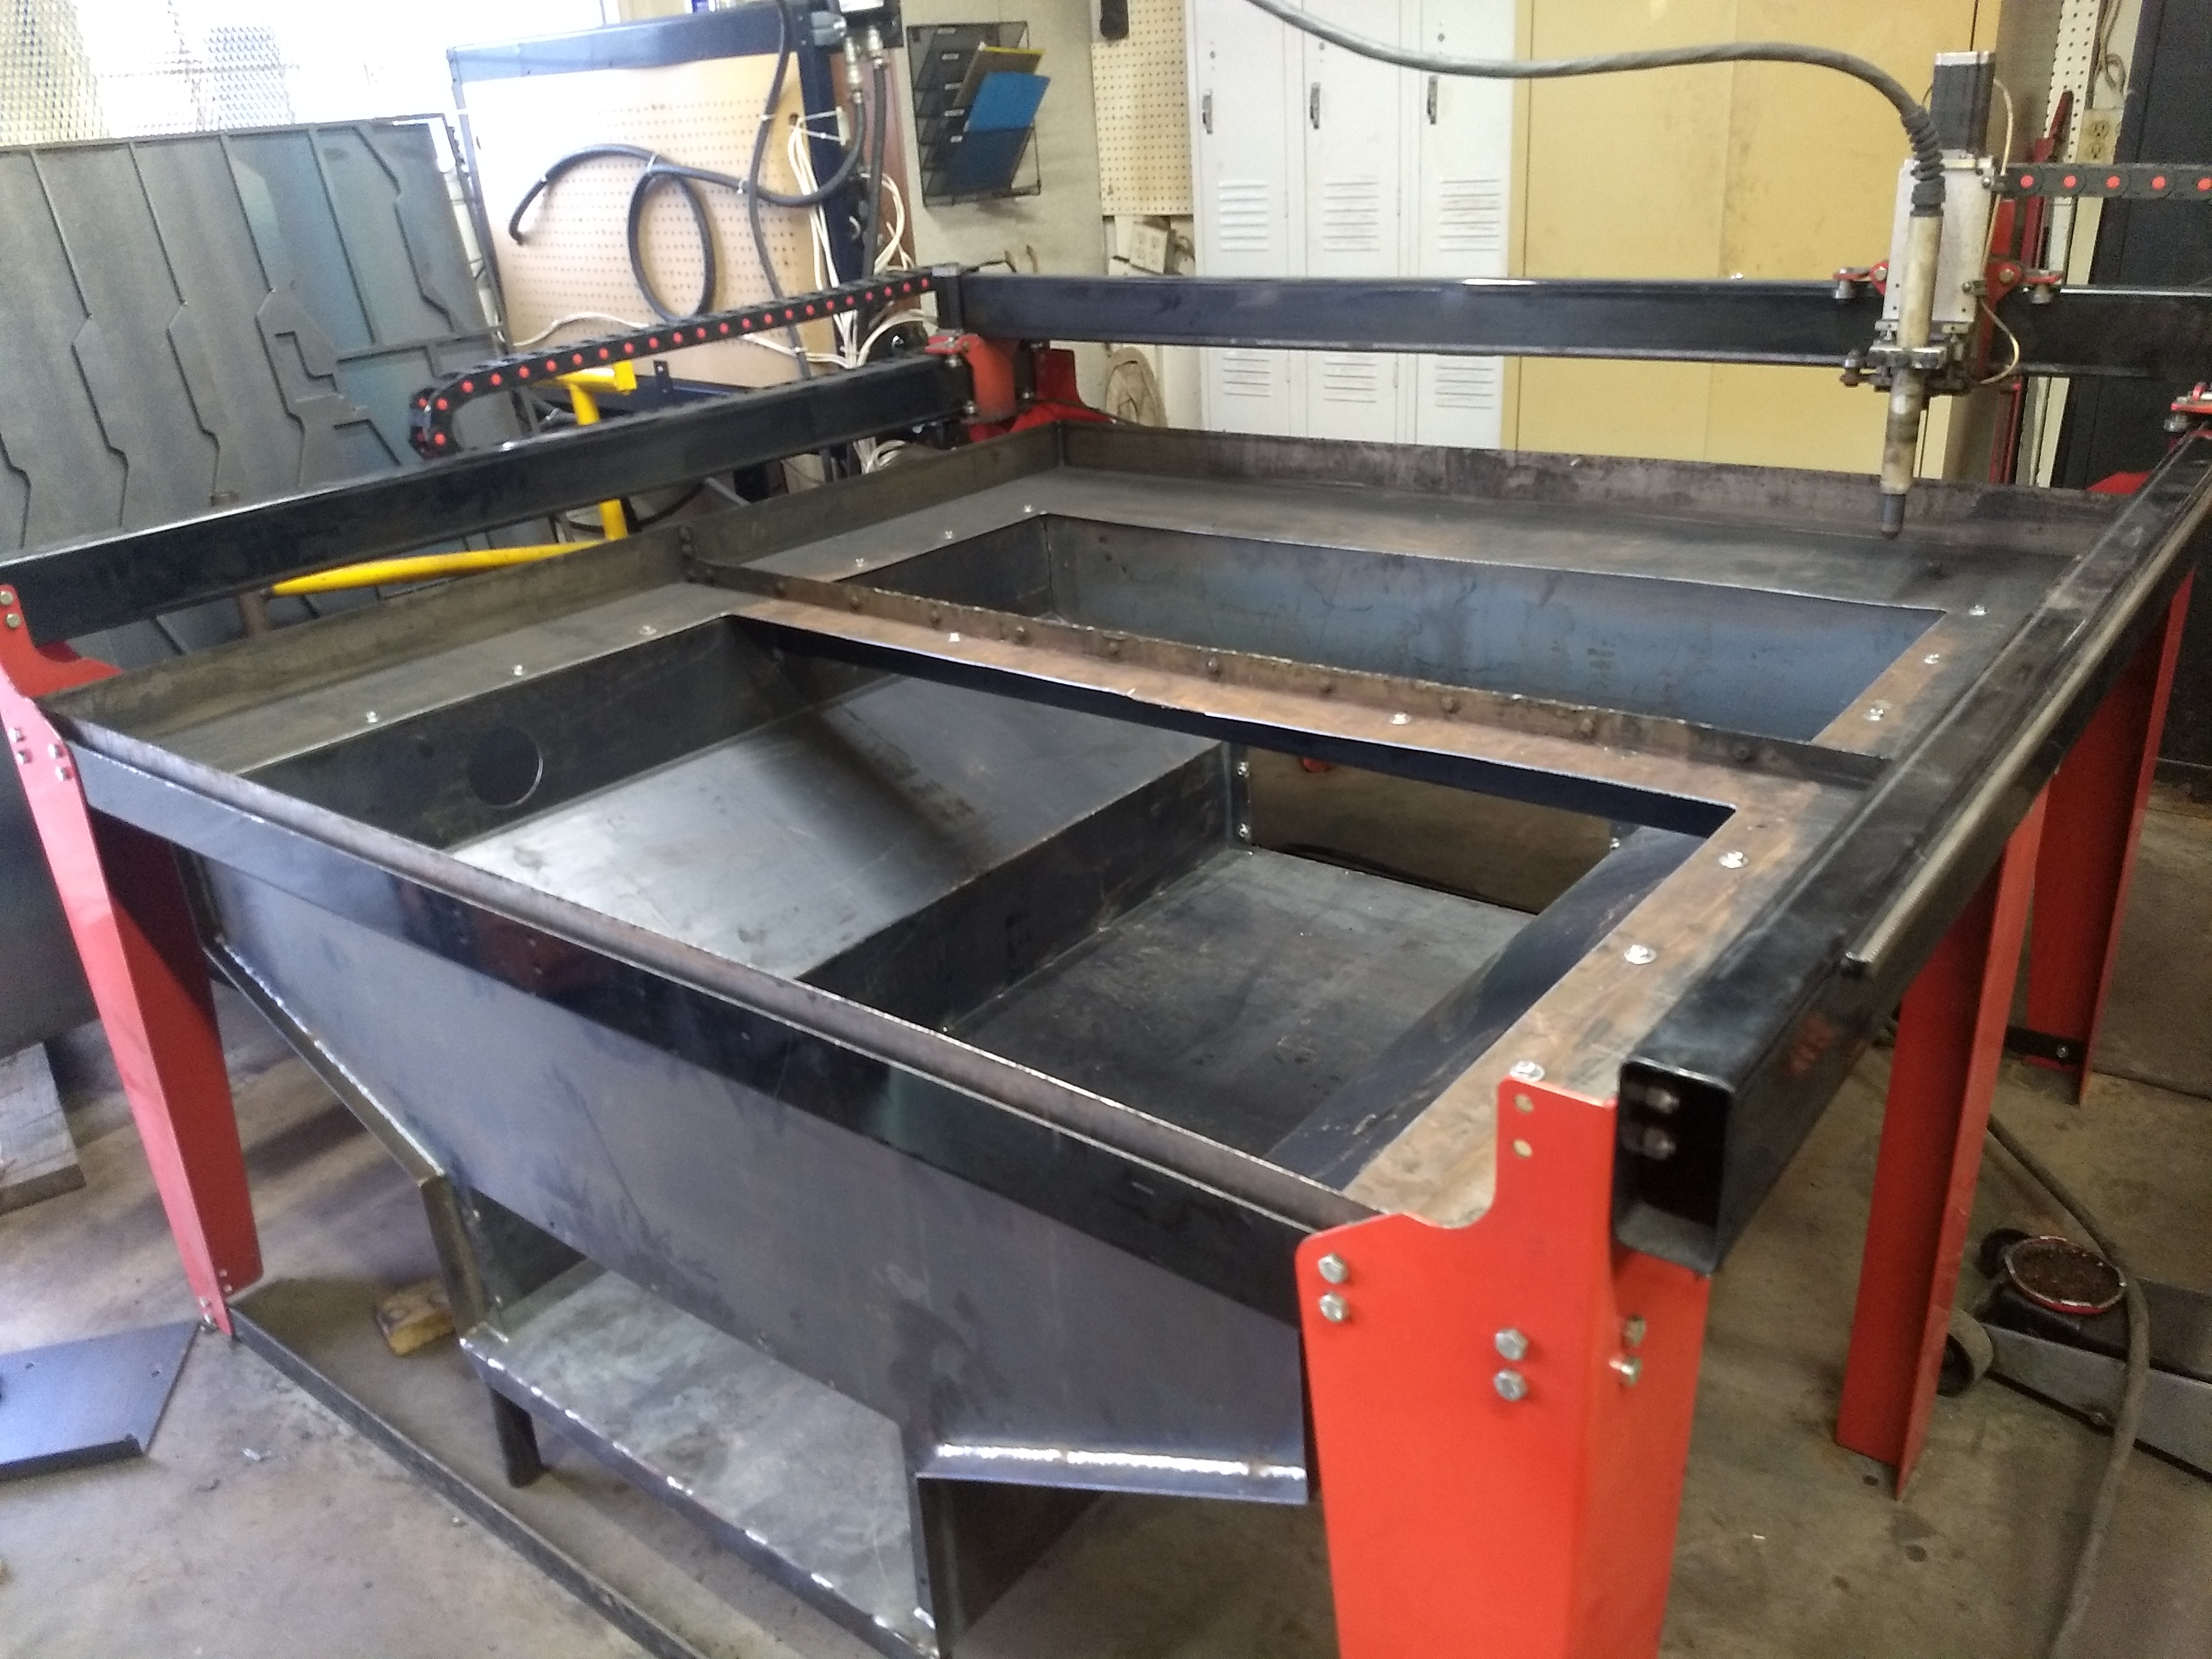
First we drew up the table in its entirety including the cutting envelope so we could focus our suction in the area that was important.
We then designed a hopper style basin with angled sides leading down to a 28” wide cleanout section that is 8” deep, overall from the bottom of the original water pan to the bottom of the clean out was approximately 20”. The cleanout section has doors one on each end that can be removed and a push broom used to push all of the debris.
For suction we used two 5’ long 4” round exhaust tubes with eight 1.25” holes drilled in a line. These were situated with the holes pointed down towards the bottom of the basin. This is to avoid as much debris getting picked up while still having enough suction to pull the smoke from the machine.
We used the plasma table to cut the two main sections out and several holes along the sides to mount the hopper.
Hopper installed. Ends welded solid all other seams stitch welded and caulked.
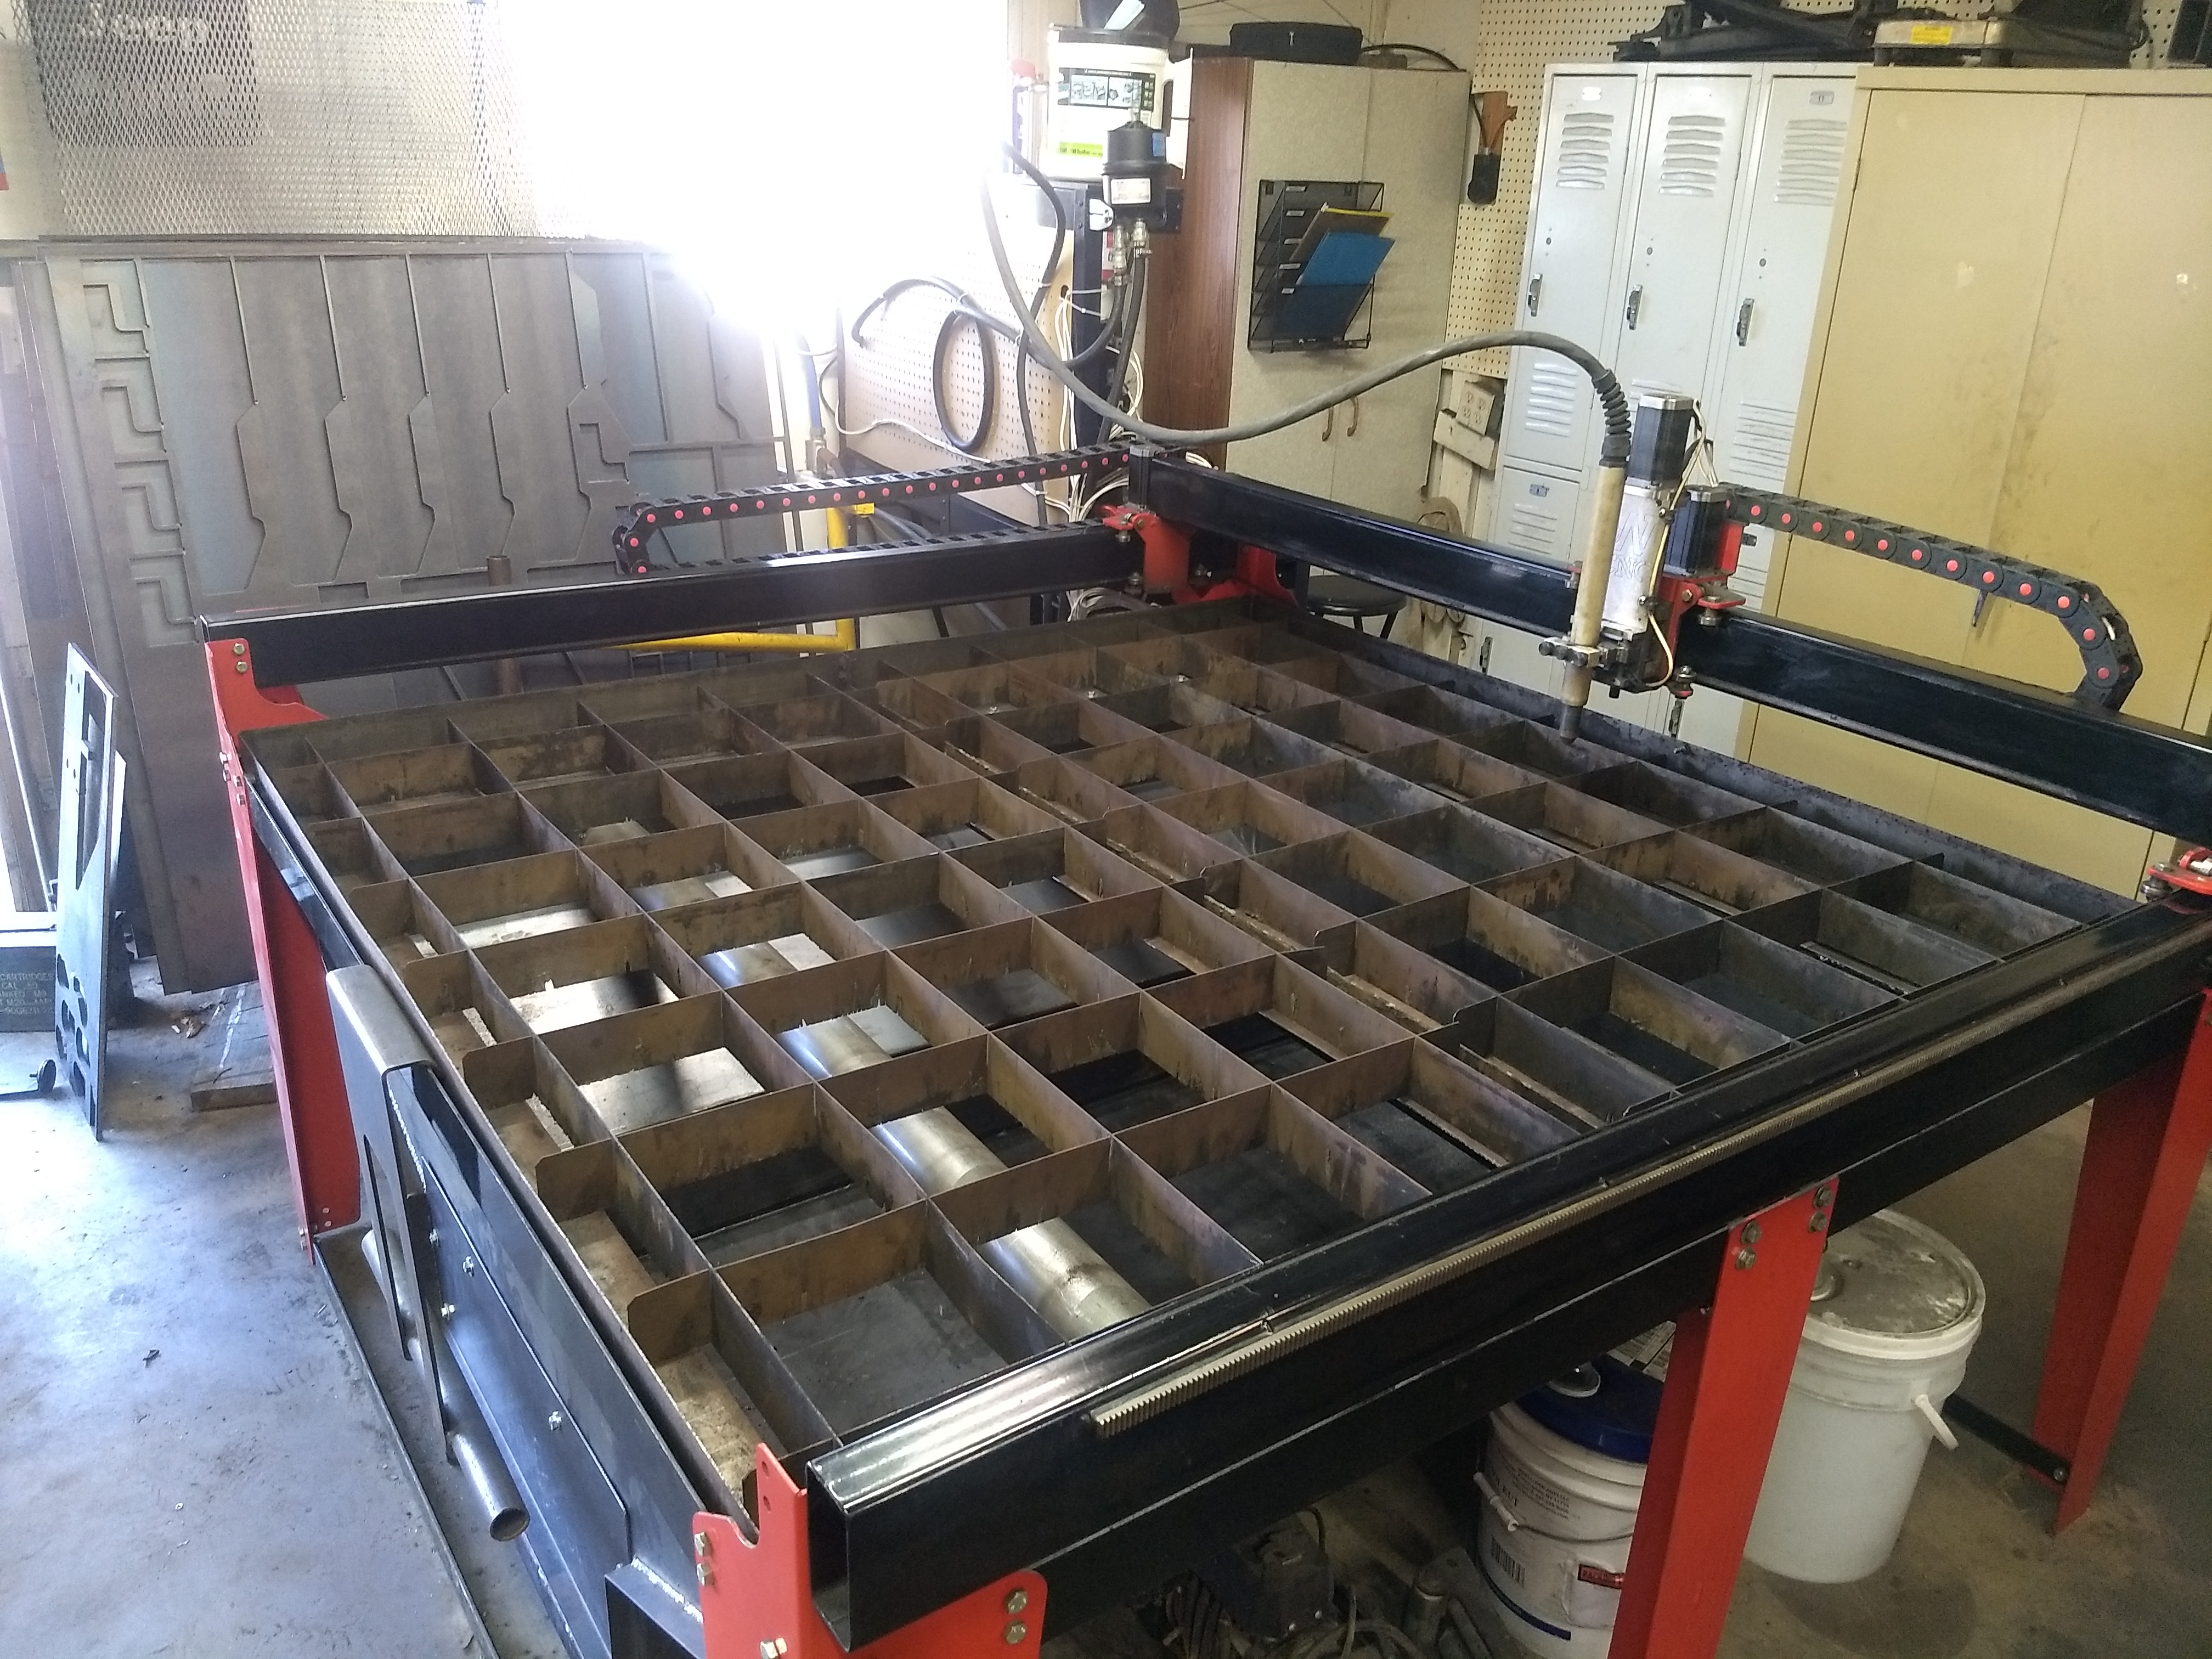
Supports reinstalled, and suction tubes installed.

For suction we are trying out squirrel cage fans from old HVAC systems. With the first test we hooked up one side of the fan, to one tube. We hooked up one side due to the fact that the motor for the fan is on the other side. If we hooked this up we could in theory double the pull, but due to all of the dust and debris that is pulled from the table I do not think the motor would last long.
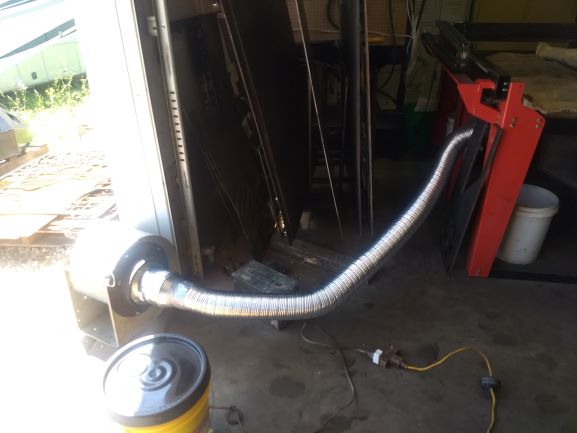
This alone was not very effective. We did find that if we covered all of the open sections of table it would clear out the smoke but still we saw a lot of smoke being pumped out due to the plasma adding more air to the table than we were able to take out. The next step will be trying two fans, one hooked up to each tube and seeing if we can out pace the plasma.
Cutting Tube on the Plasma Table